How to Remove the Back Off a Vizio Tv
Introduction
My research created a series of steps to follow for this project. These steps will consist of how to take the screen out. Each step will be very easy to follow, but please be aware, that these steps will not always 100% work. Please make sure to bring your work to a shop so that they can check and see if it looks good, or if your product does not work, please bring it to a professional. Also, be prepared to spend at least a good $100 - $200 on a new screen.
-
-
Please make sure to unplug the TV or completely remove the plug.
-
Carefully flip the TV over.
-
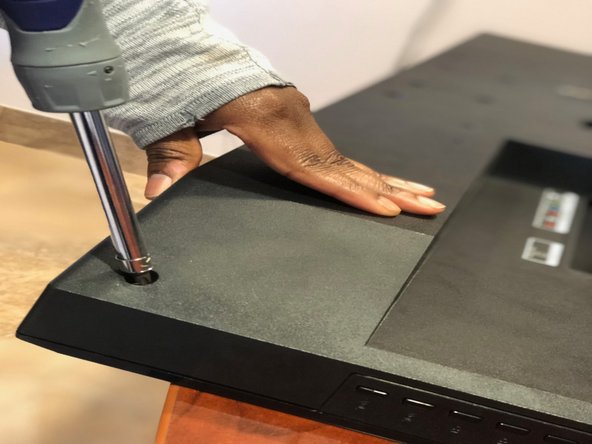
Start by unscrewing the bottom part of the TV.
-
-
-
Unscrew the frame and slowly and carefully remove it. Set it somewhere.
-
Next, unscrew the nub and slowly and carefully remove it.
-
-
-
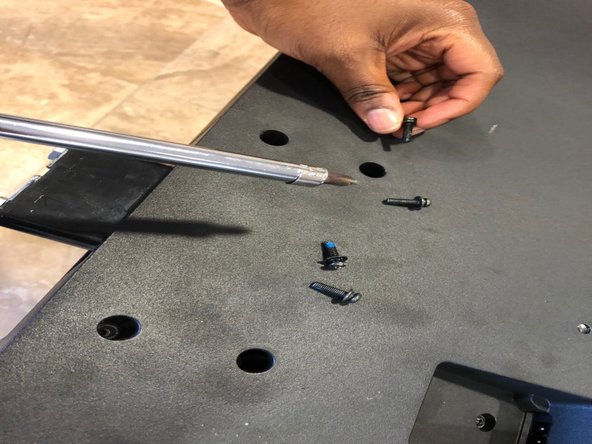
Carefully unscrew all of the screws in the back of the TV.
-
-
-
Slowly and carefully lift the back of the TV off and put it aside.
-
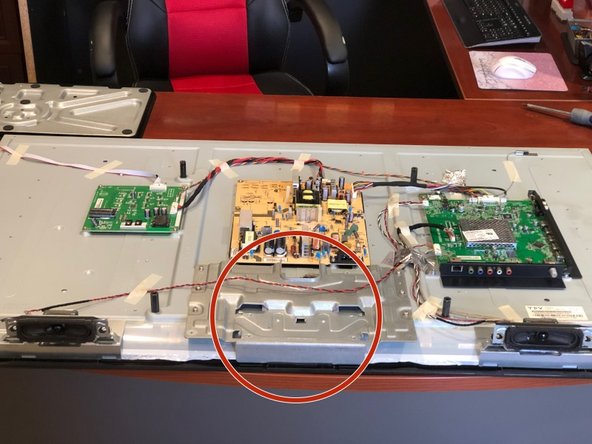
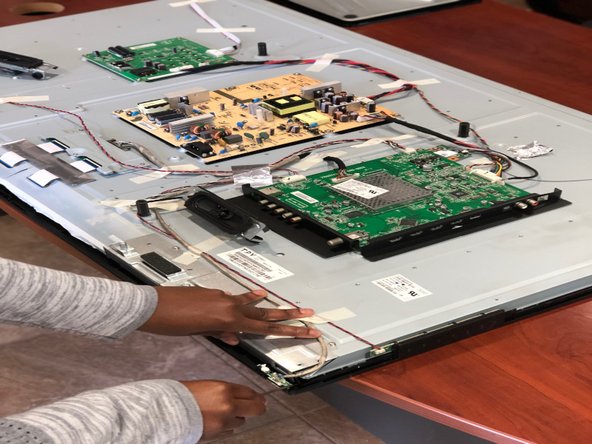
Next, we study the back of the TV, certain things can be removed and certain things can't. As we go through this guide, I will let you know what can be removed and what cannot. Please use the middle picture as a reference point.
-
The gray metal piece that is stationed underneath the yellowish device is the first thing that we will start to usncrew.
-
-
-
Slowly lift up that gray panel and put it aside. Let's move on to the speakers.
-
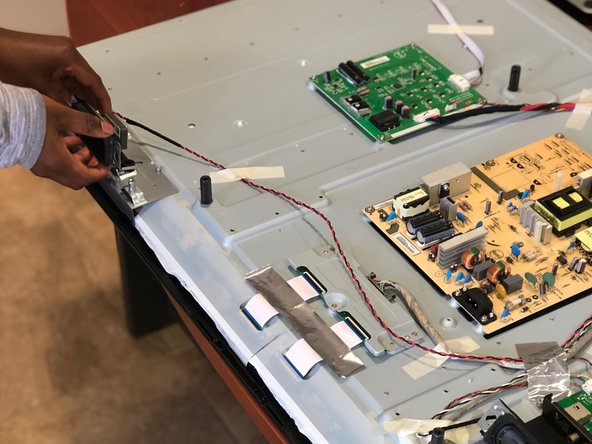
The speakers are stationed on the side and you can just pull it up, it is magnetic and it can stick on the back of the TV very well. You do not need to unplug anything, you are just removing parts and putting them aside to move the screen.
-
-
-
Remove the Speakers.
-
Do not rip the speakers out. You can potentially pull out an important wire or damage it completely. Be very careful and gentle, set it aside.
-
Next, there is this little chip looking thing at the corner of the TV, take the small screwdriver and put it underneath it and lift it up. Be sure to again be gentle, making sure you don't scratch or chip it.
-
-
-
After you are done lifting it up, pull it towards you and lift it on top of the TV.
-
If your TV is different than mine, there might be more than one, make sure to find them and if they are connected around the frame, please remove them.
-
-
-
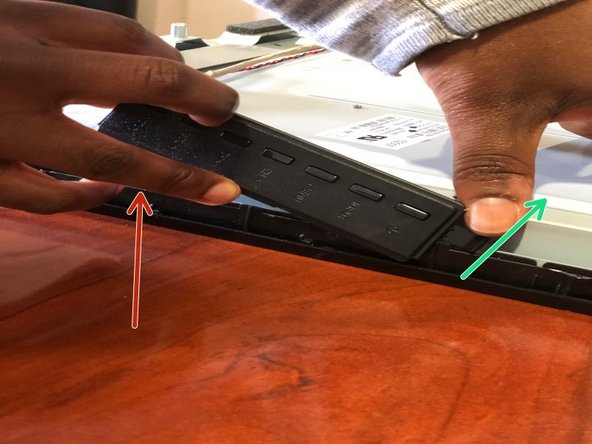
Next, we go to the buttons. My thumb is situated on a panel on top of the button, press on it.
-
With your other hand (keeping the thumb pressed on the panel), slowly and carefully lift the button part up.
-
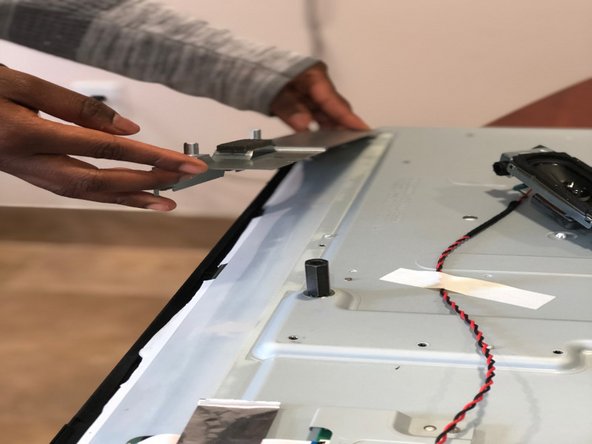
Now, we are moving on to taking out this other medal piece (please see the last picture in this step).
-
-
-
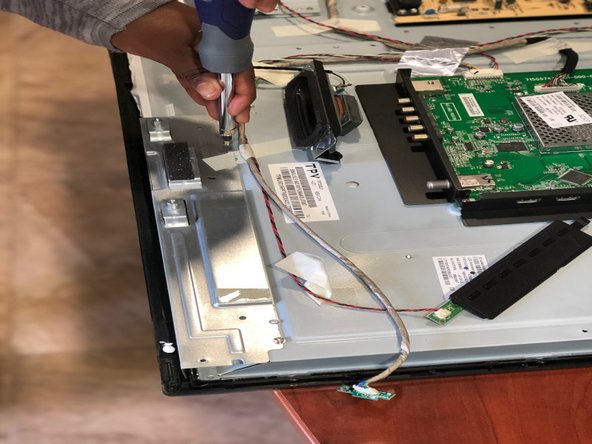
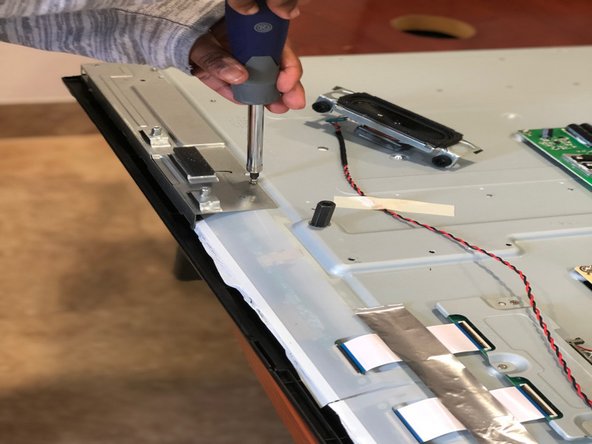
There are two metal pieces holding onto the bottom of the TV. Really the bottom part of the TV is what's keeping you away from the glass part.
-
Unscrew both metal parts, slowly lifting them up and putting them aside, if you think labeling will help, please do so. These steps are easy enough to know and understand, so labeling is not really needed.
-
-
-
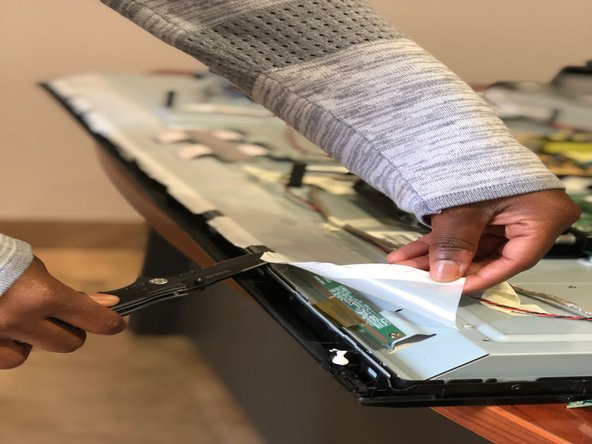
There is this little sticker plastic thing that is located at the bottom. We are going to now use our pocket knife, the back part of it because we do not want to cut or rip that plastic section.
-
The tip of the knife should be used to help peel it and then the back of it should help lift it up.
-
It's okay, this is super sticky, so it will re-stick when you put it back together. Once done, go ahead and tuck it up (see last photo in this step) and move on to the next step.
-
-
-
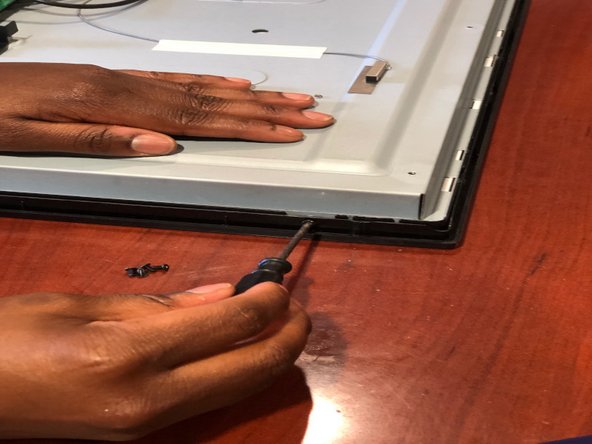
Here is where it gets a bit complicated. There is a lot of tiny little screws around the edge of the TV. Unscrew them going around and putting them aside.
-
Make sure to get every little screw, because when we flip the TV (super heavy!) we are going to remove the frame and if one screw is in there, it will be super difficult to remove.
-
Once you get all of the screws, go back and make sure you didn't leave one so we can do one quick flip and done. :)
-
-
-
Now, again at the bottom, unclip the frame from the metal part. Make sure to do it carefully so that the plastic doesn't break.
-
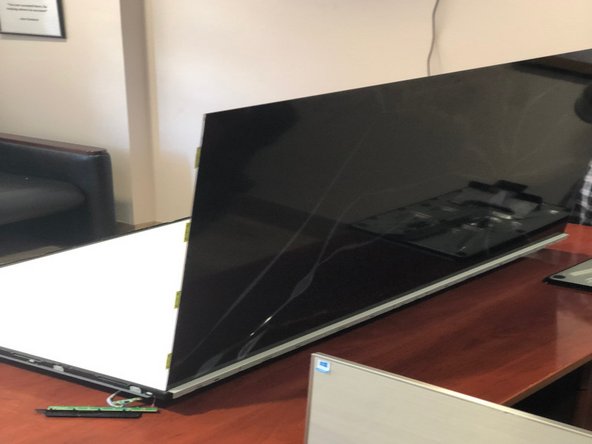
Once done, flip the TV. It should look like the next two pictures.
-
-
-
Next, we lift up the frame from in front of the TV (those tiny side screws did the work) and set it aside.
-
Once done, lift up the glass section (carefully, it is glass) and replace it with a brand new glass screen!
-
Make sure to match the right glass with the right TV, some of the glass can be a bit pricey (around $100 to $150) , but not as pricey as when someone else does it for you.
-
This is the end of this guide book!
-


Conclusion
To reassemble your device, follow these instructions in reverse order.
Embed this guide
Choose a size and copy the code below to embed this guide as a small widget on your site / forum.
Preview
How to Remove the Back Off a Vizio Tv
Source: https://www.ifixit.com/Guide/VIZIO+TV+Screen+Replacement/120241
0 Response to "How to Remove the Back Off a Vizio Tv"
Post a Comment